Thread with sewing thread on top and in the bobbin.
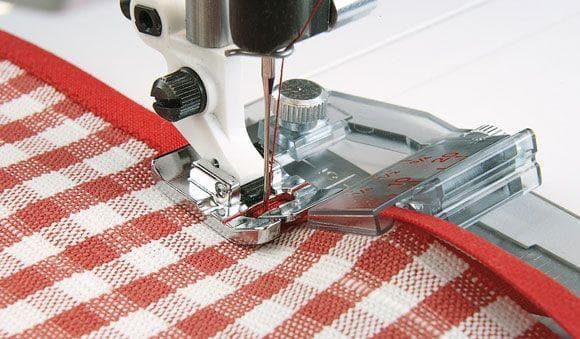
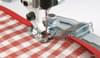
Snap on the Adjustable Bias Binder.
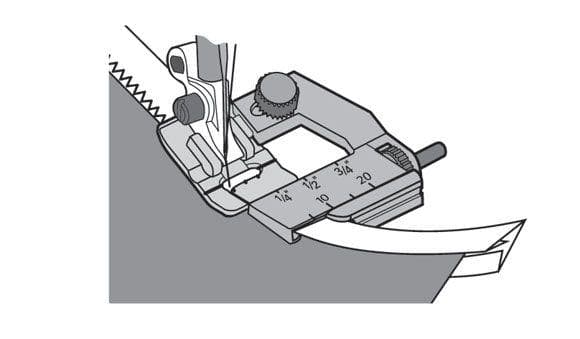
Use the screw on the right side of the bracket to adjust the width of the opening to fit the
bias tape.
Cut the end of the bias tape to a 45 degree angle. Insert the bias tape from the outside of
the bracket, into the slot that matches its width, and pull it down under the foot.
Place the edge to be bound into the groove on the left side of the bracket.
Loosen the screw on the top, in the back of the foot and adjust the bracket as needed.
Select a narrow zigzag, a straight stitch or a decorative stitch. Sew slowly, keeping the
fabric to be bound, snugly in the groove as you sew.
Specifications
Thread with sewing thread on top and in the bobbin.
Snap on the Adjustable Bias Binder.
Use the screw on the right side of the bracket to adjust the width of the opening to fit the bias tape.
Cut the end of the bias tape to a 45 degree angle. Insert the bias tape from the outside of the bracket, into the slot that matches its width, and pull it down under the foot.
Place the edge to be bound into the groove on the left side of the bracket.
Loosen the screw on the top, in the back of the foot and adjust the bracket as needed.
Select a narrow zigzag, a straight stitch or a decorative stitch. Sew slowly, keeping the fabric to be bound, snugly in the groove as you sew.